For the tutorials that will be given in the FIZ, ENGR 101 students will need access to a browser-based Computer Aided Design (CAD) as well as slicer software which needs to be installed on your computer. All software is available to students at no cost. Detailed instructions for setting up the software are given below.
Autodesk Fusion (CAD Software)
Follow along with this video (opens in new tab) on creating an Autodesk account and confirming your student status. See the next section for steps on how to obtain an enrollment verification document.
NOTE: If Autodesk asks to use SheerID, no enrollment documentation will be needed. You will simply log into SheerID via the WSU portal pop-up, using your WSU username and password.
Go to myWSU (opens in a new tab) and log into your WSU account.
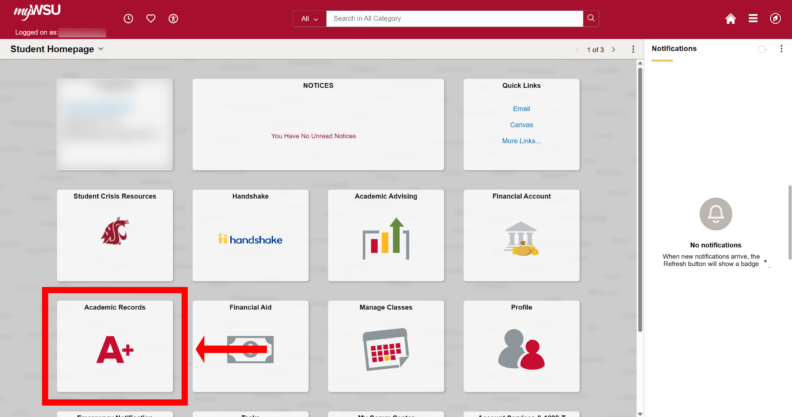
Click on Academic Records.
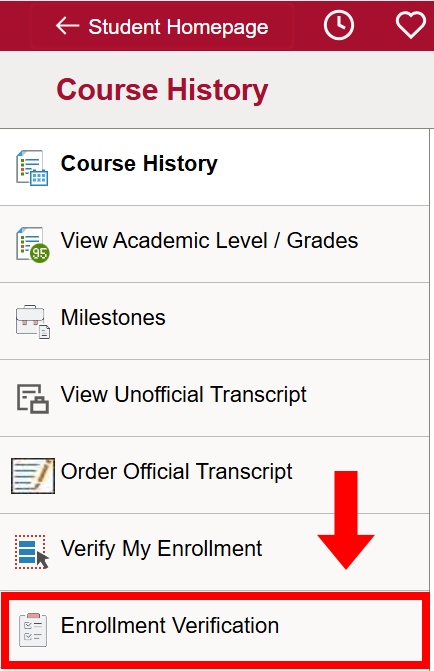
Click on Enrollment Verification.
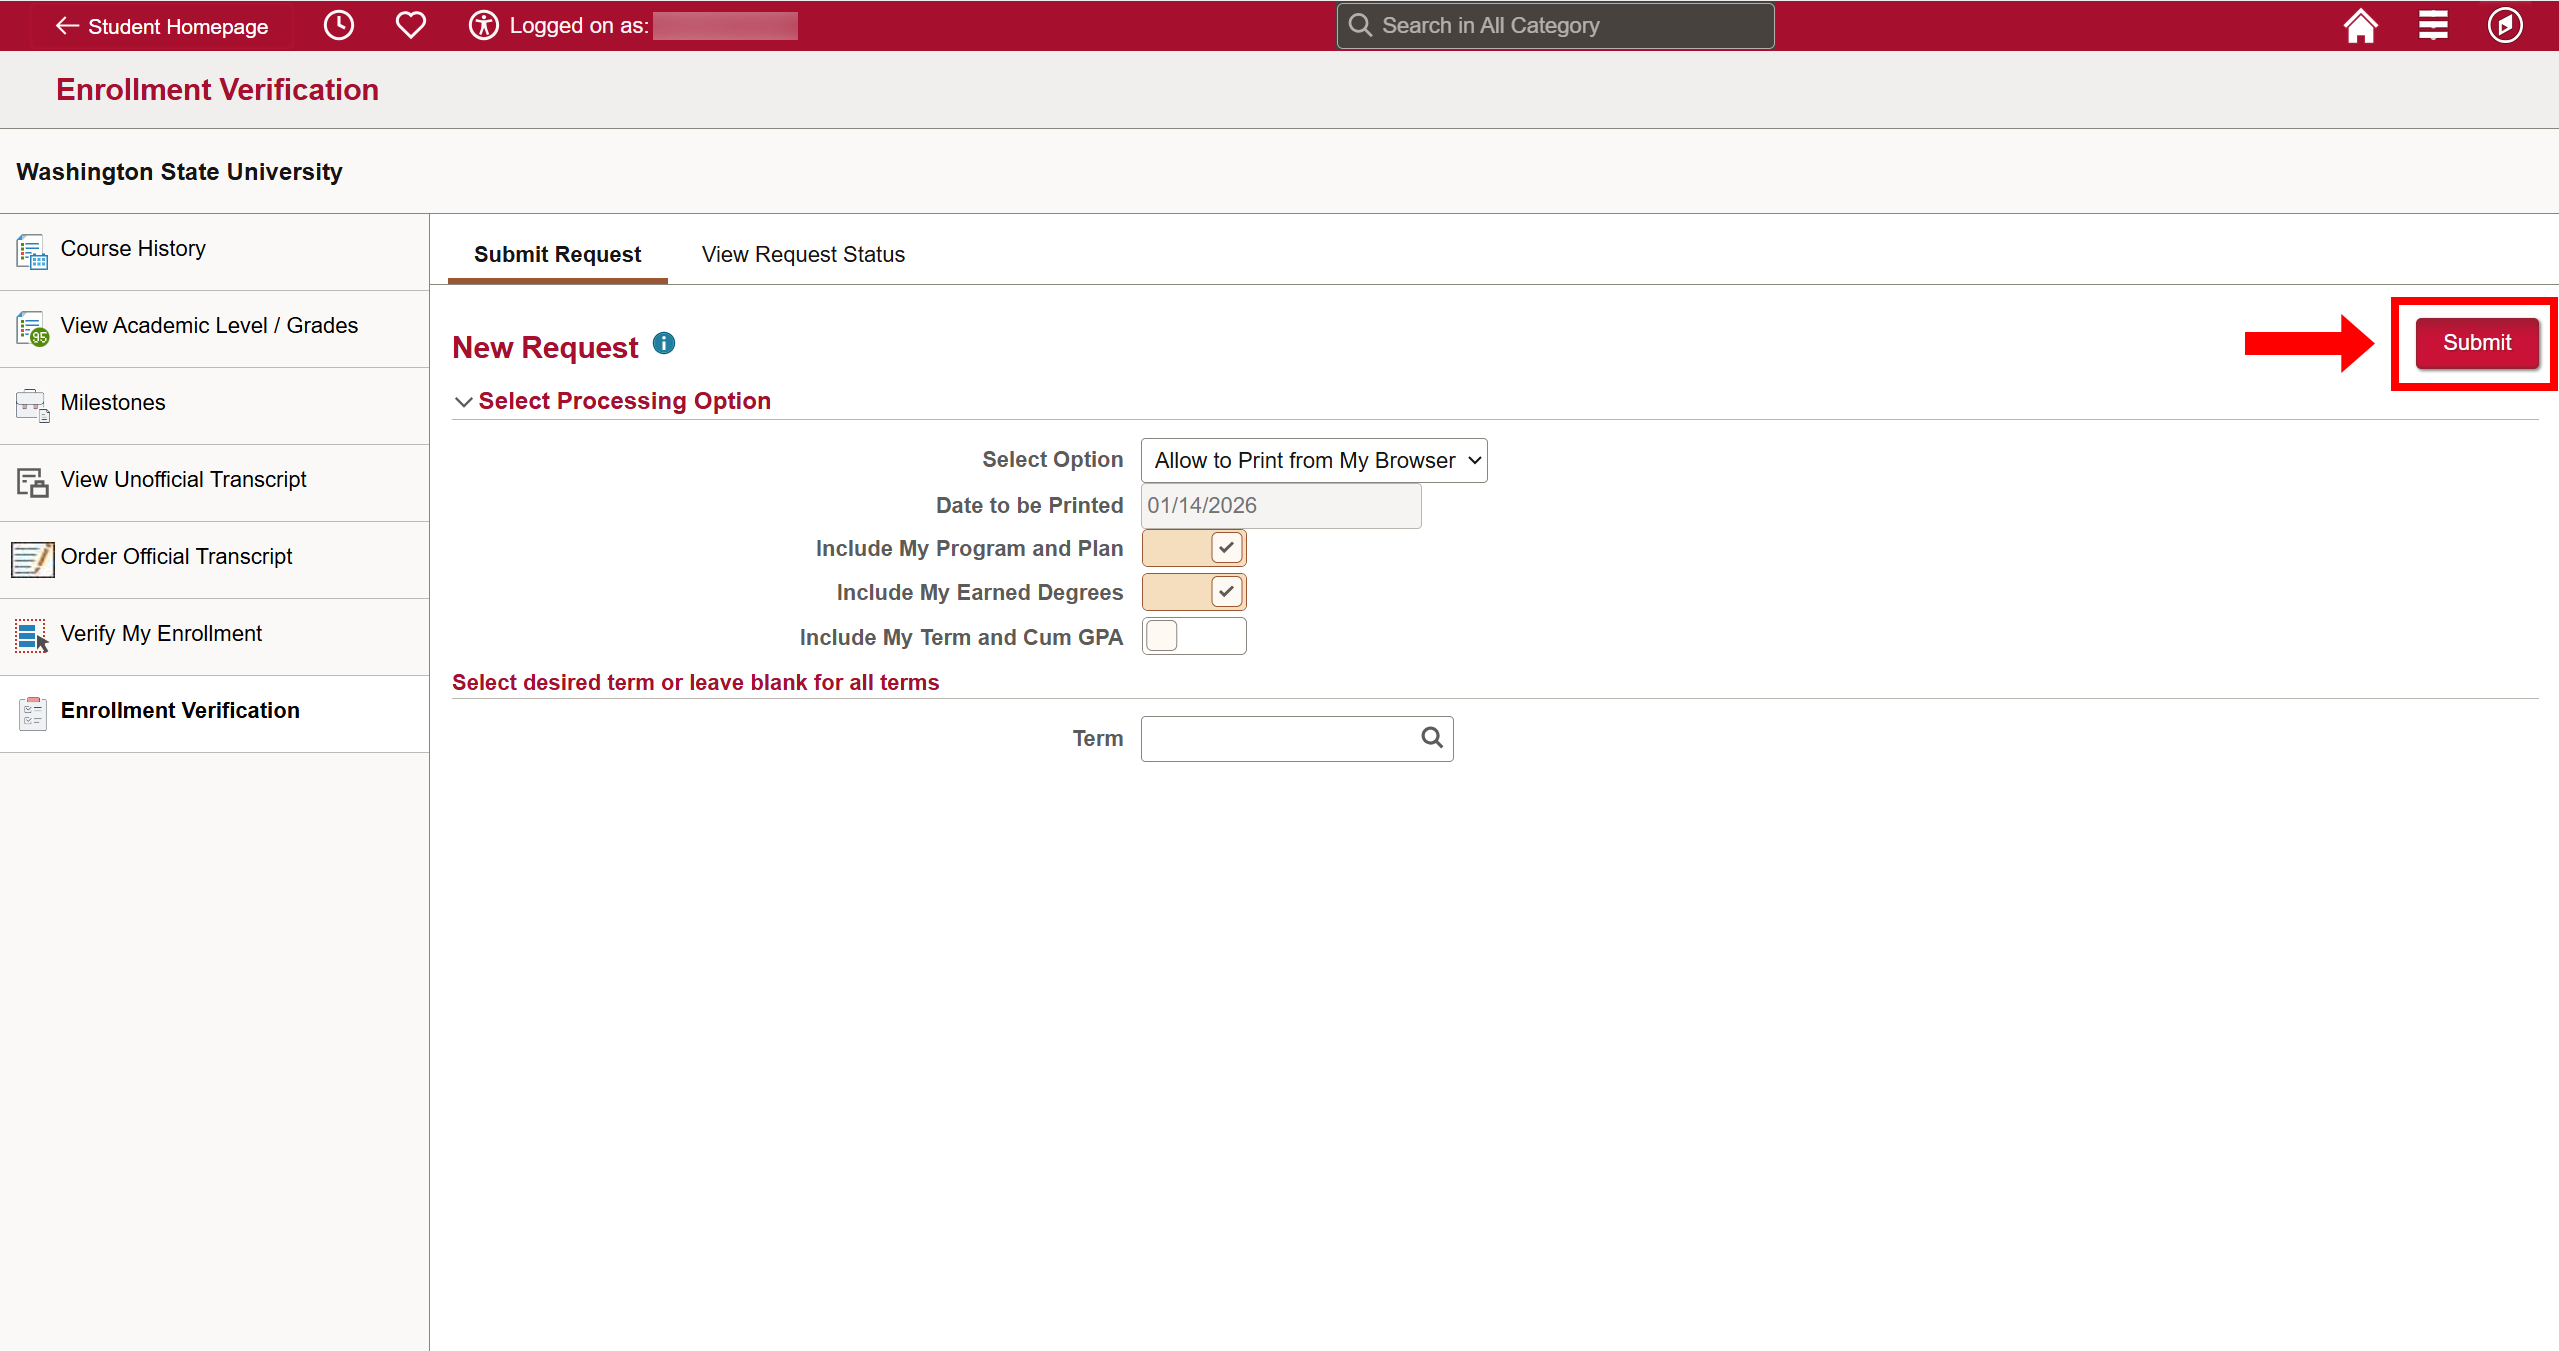
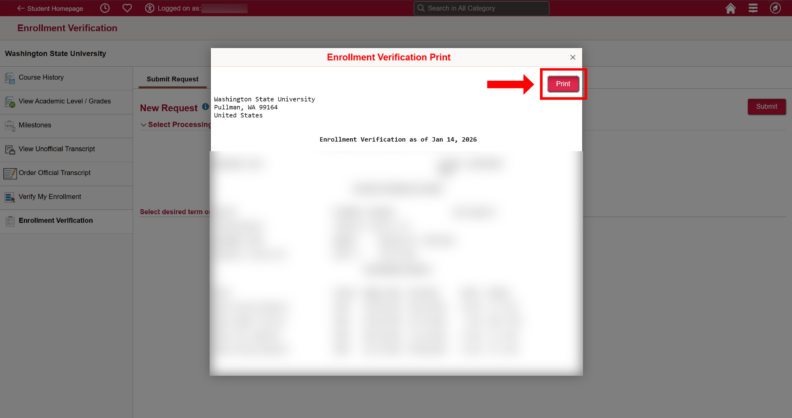
Fill out the form (the auto-filled details should be enough) and submit and a popup should appear.
Press the print button in the upper right corner.
On the print dialog click the “Destination” drop down menu and select the “Save as PDF” option.
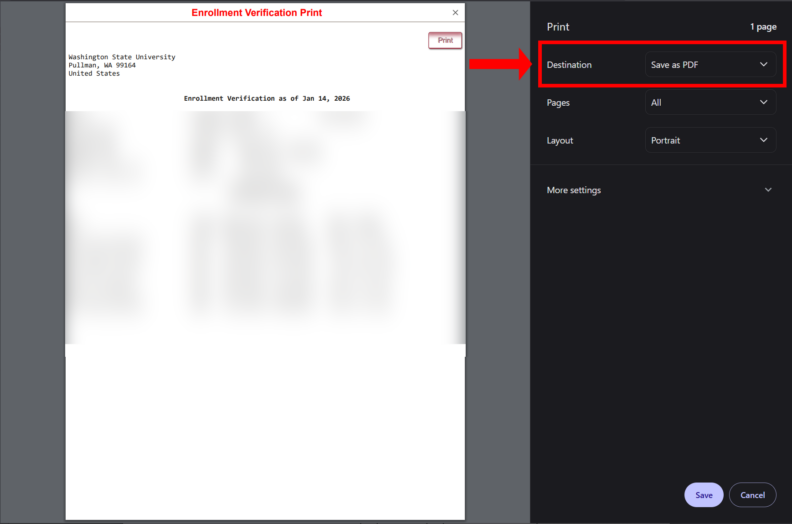
Save the file onto your computer and remember where it is to upload later.
Go to the OrcaSlicer downloads page (opens in new tab)
Official installation instructions can be found near the bottom of the page
Click the button for your relevant operating system. The Windows Installer or Linux AppImage are the preferred methods for the respective OS.

After the download finishes, proceed with the installation method for your operating system.
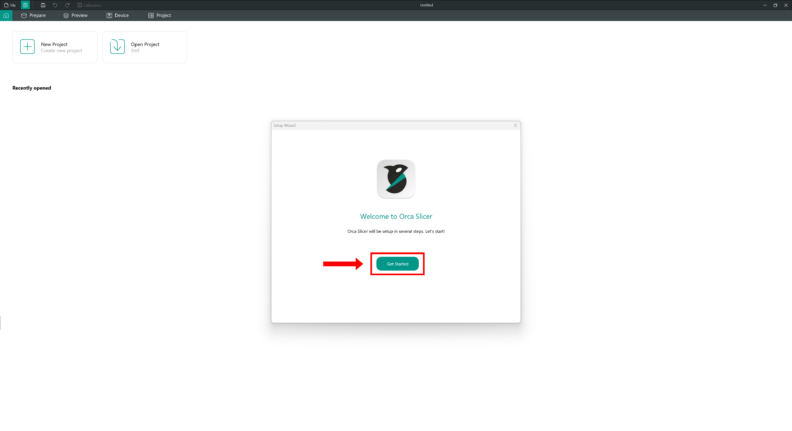
Open OrcaSlicer after the installation finishes, the Setup Wizard should appear for the initial start up.
Click Get Started and continue through the setup
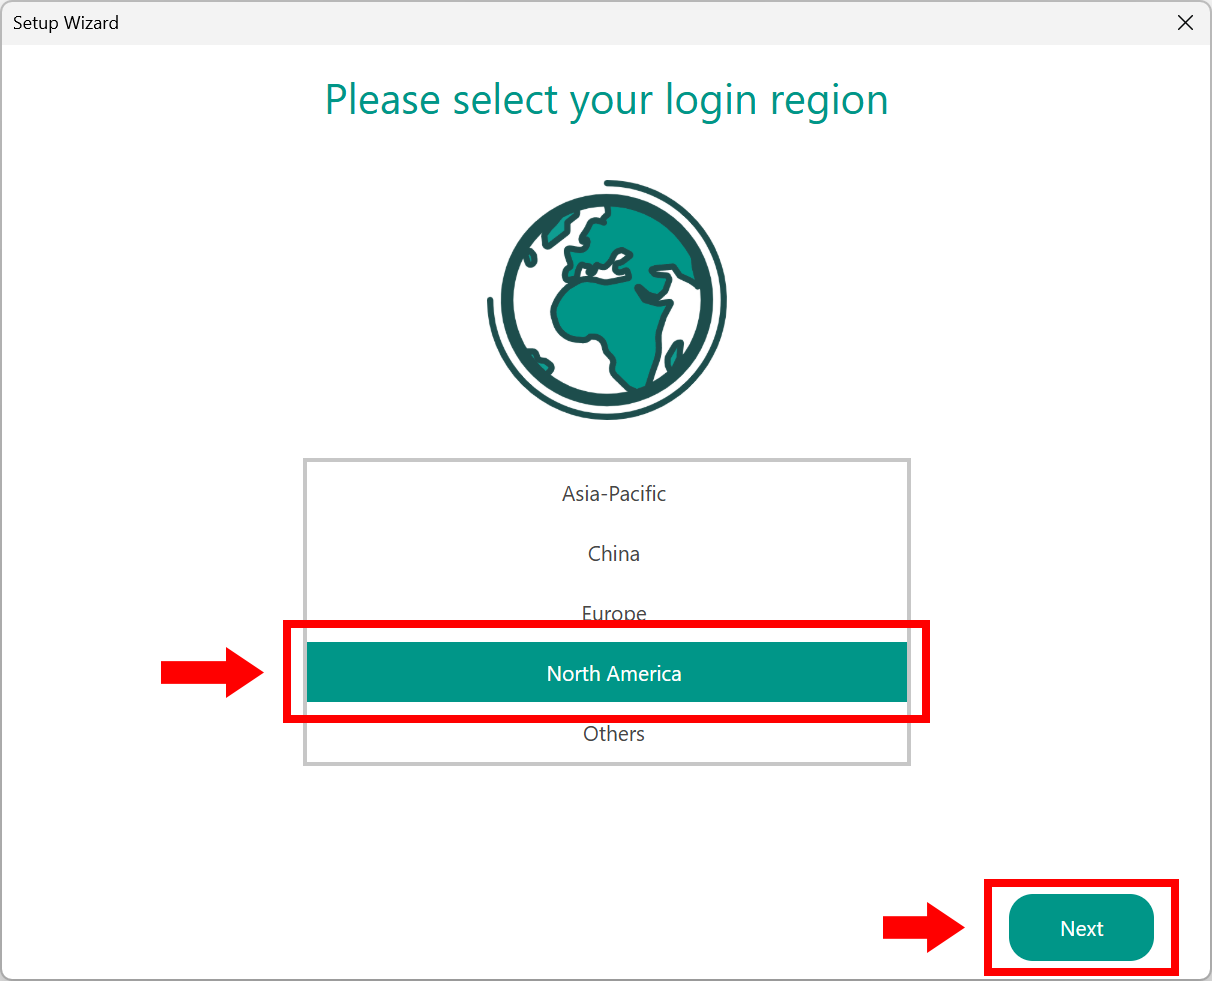
Click the correct region for you (North America)
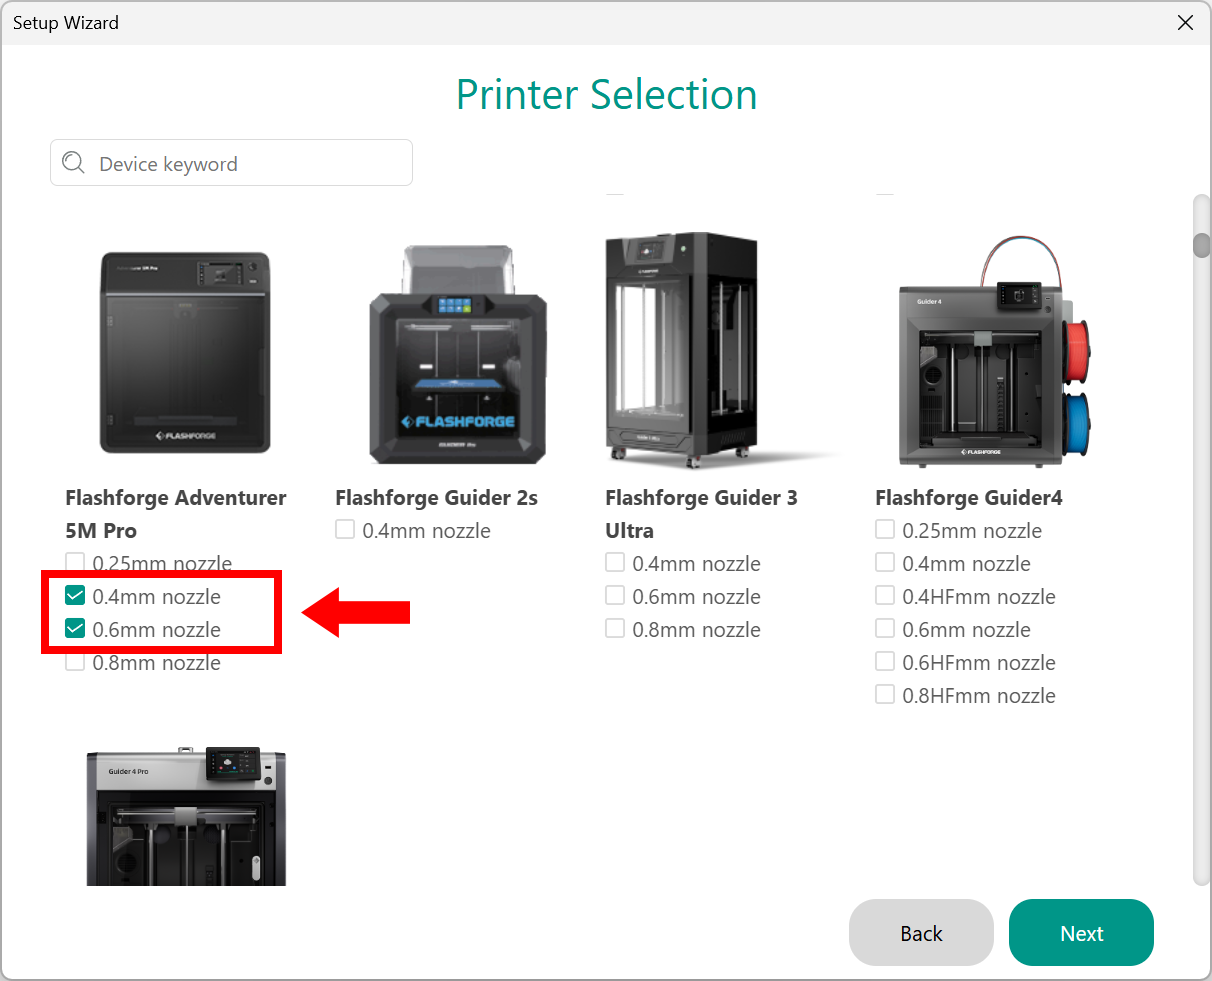
Scroll through Printer Selection and find the Flashforge Adventurer 5M Pro category, select both the 0.4mm and 0.6mm nozzle
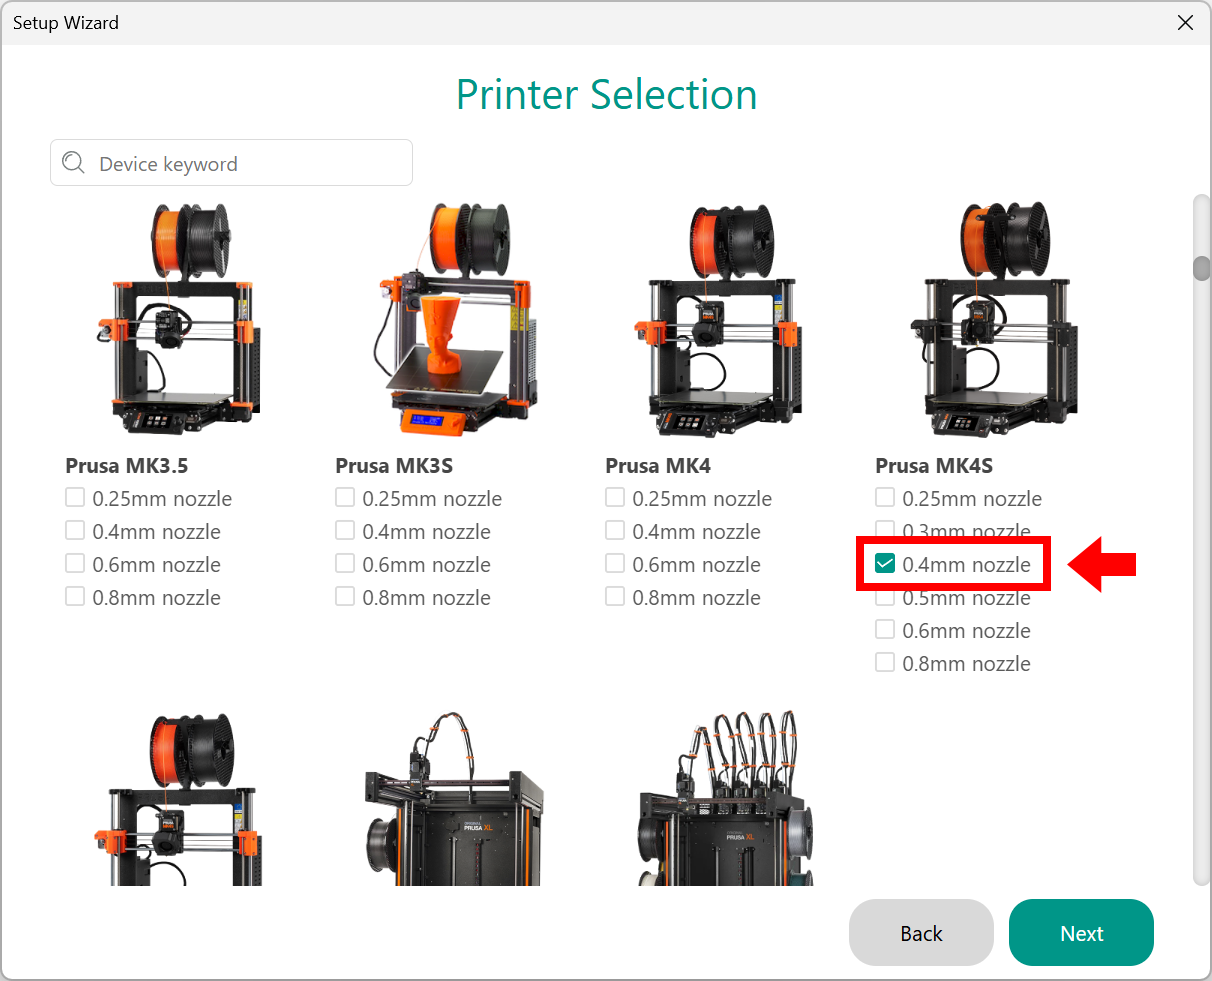
Continue scrolling and find the Prusa MK4S category and select 0.4mm nozzle, then click Next
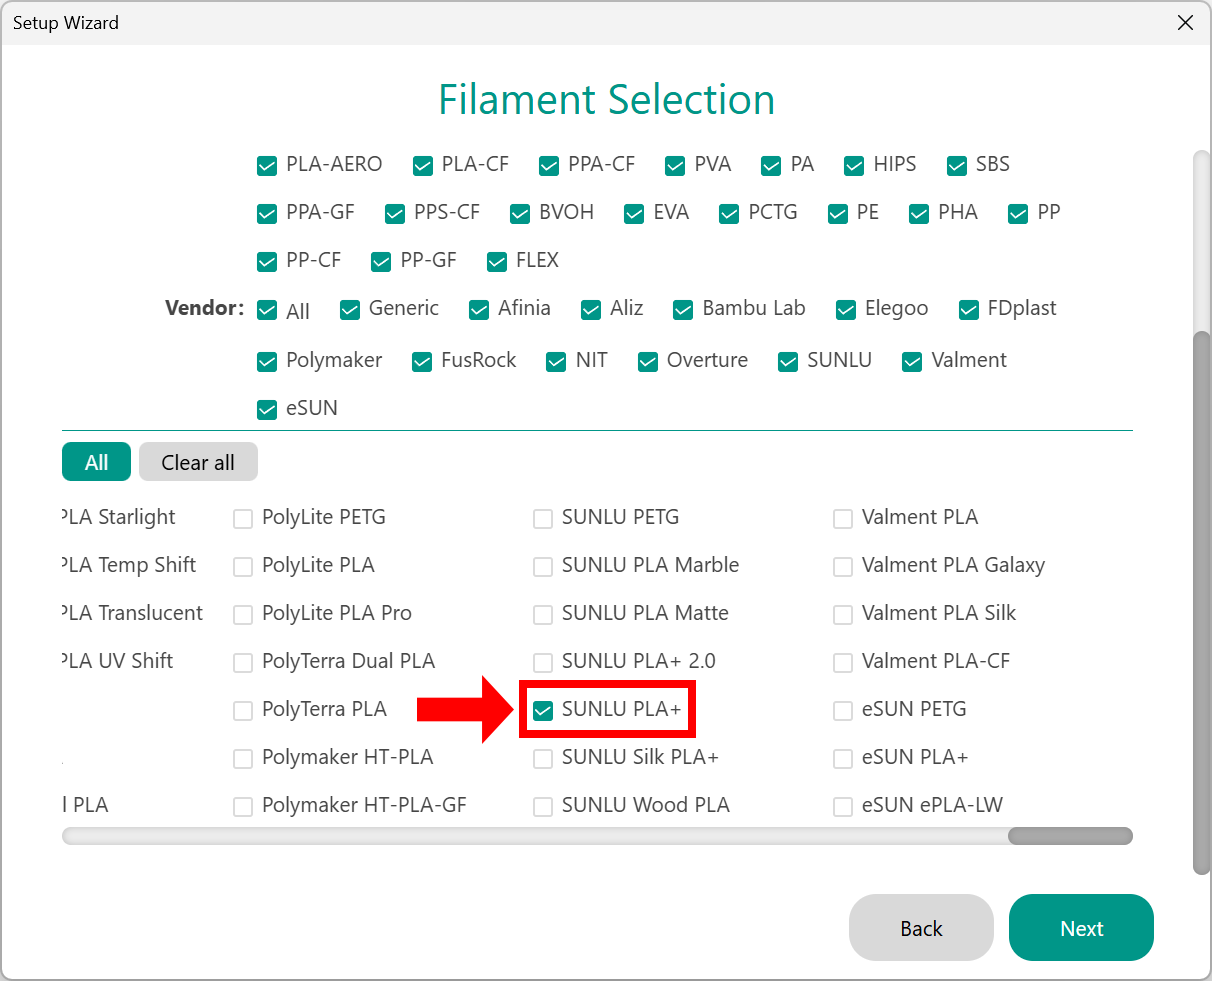
Scroll through Filament Selection and find Sunlu PLA+ and check it. Generic PLA should be pre-selected by default, if not, check that box as well
Continue through the Setup Wizard, you do not need to check any of the subsequent options. Keep going until the Setup Wizard finishes
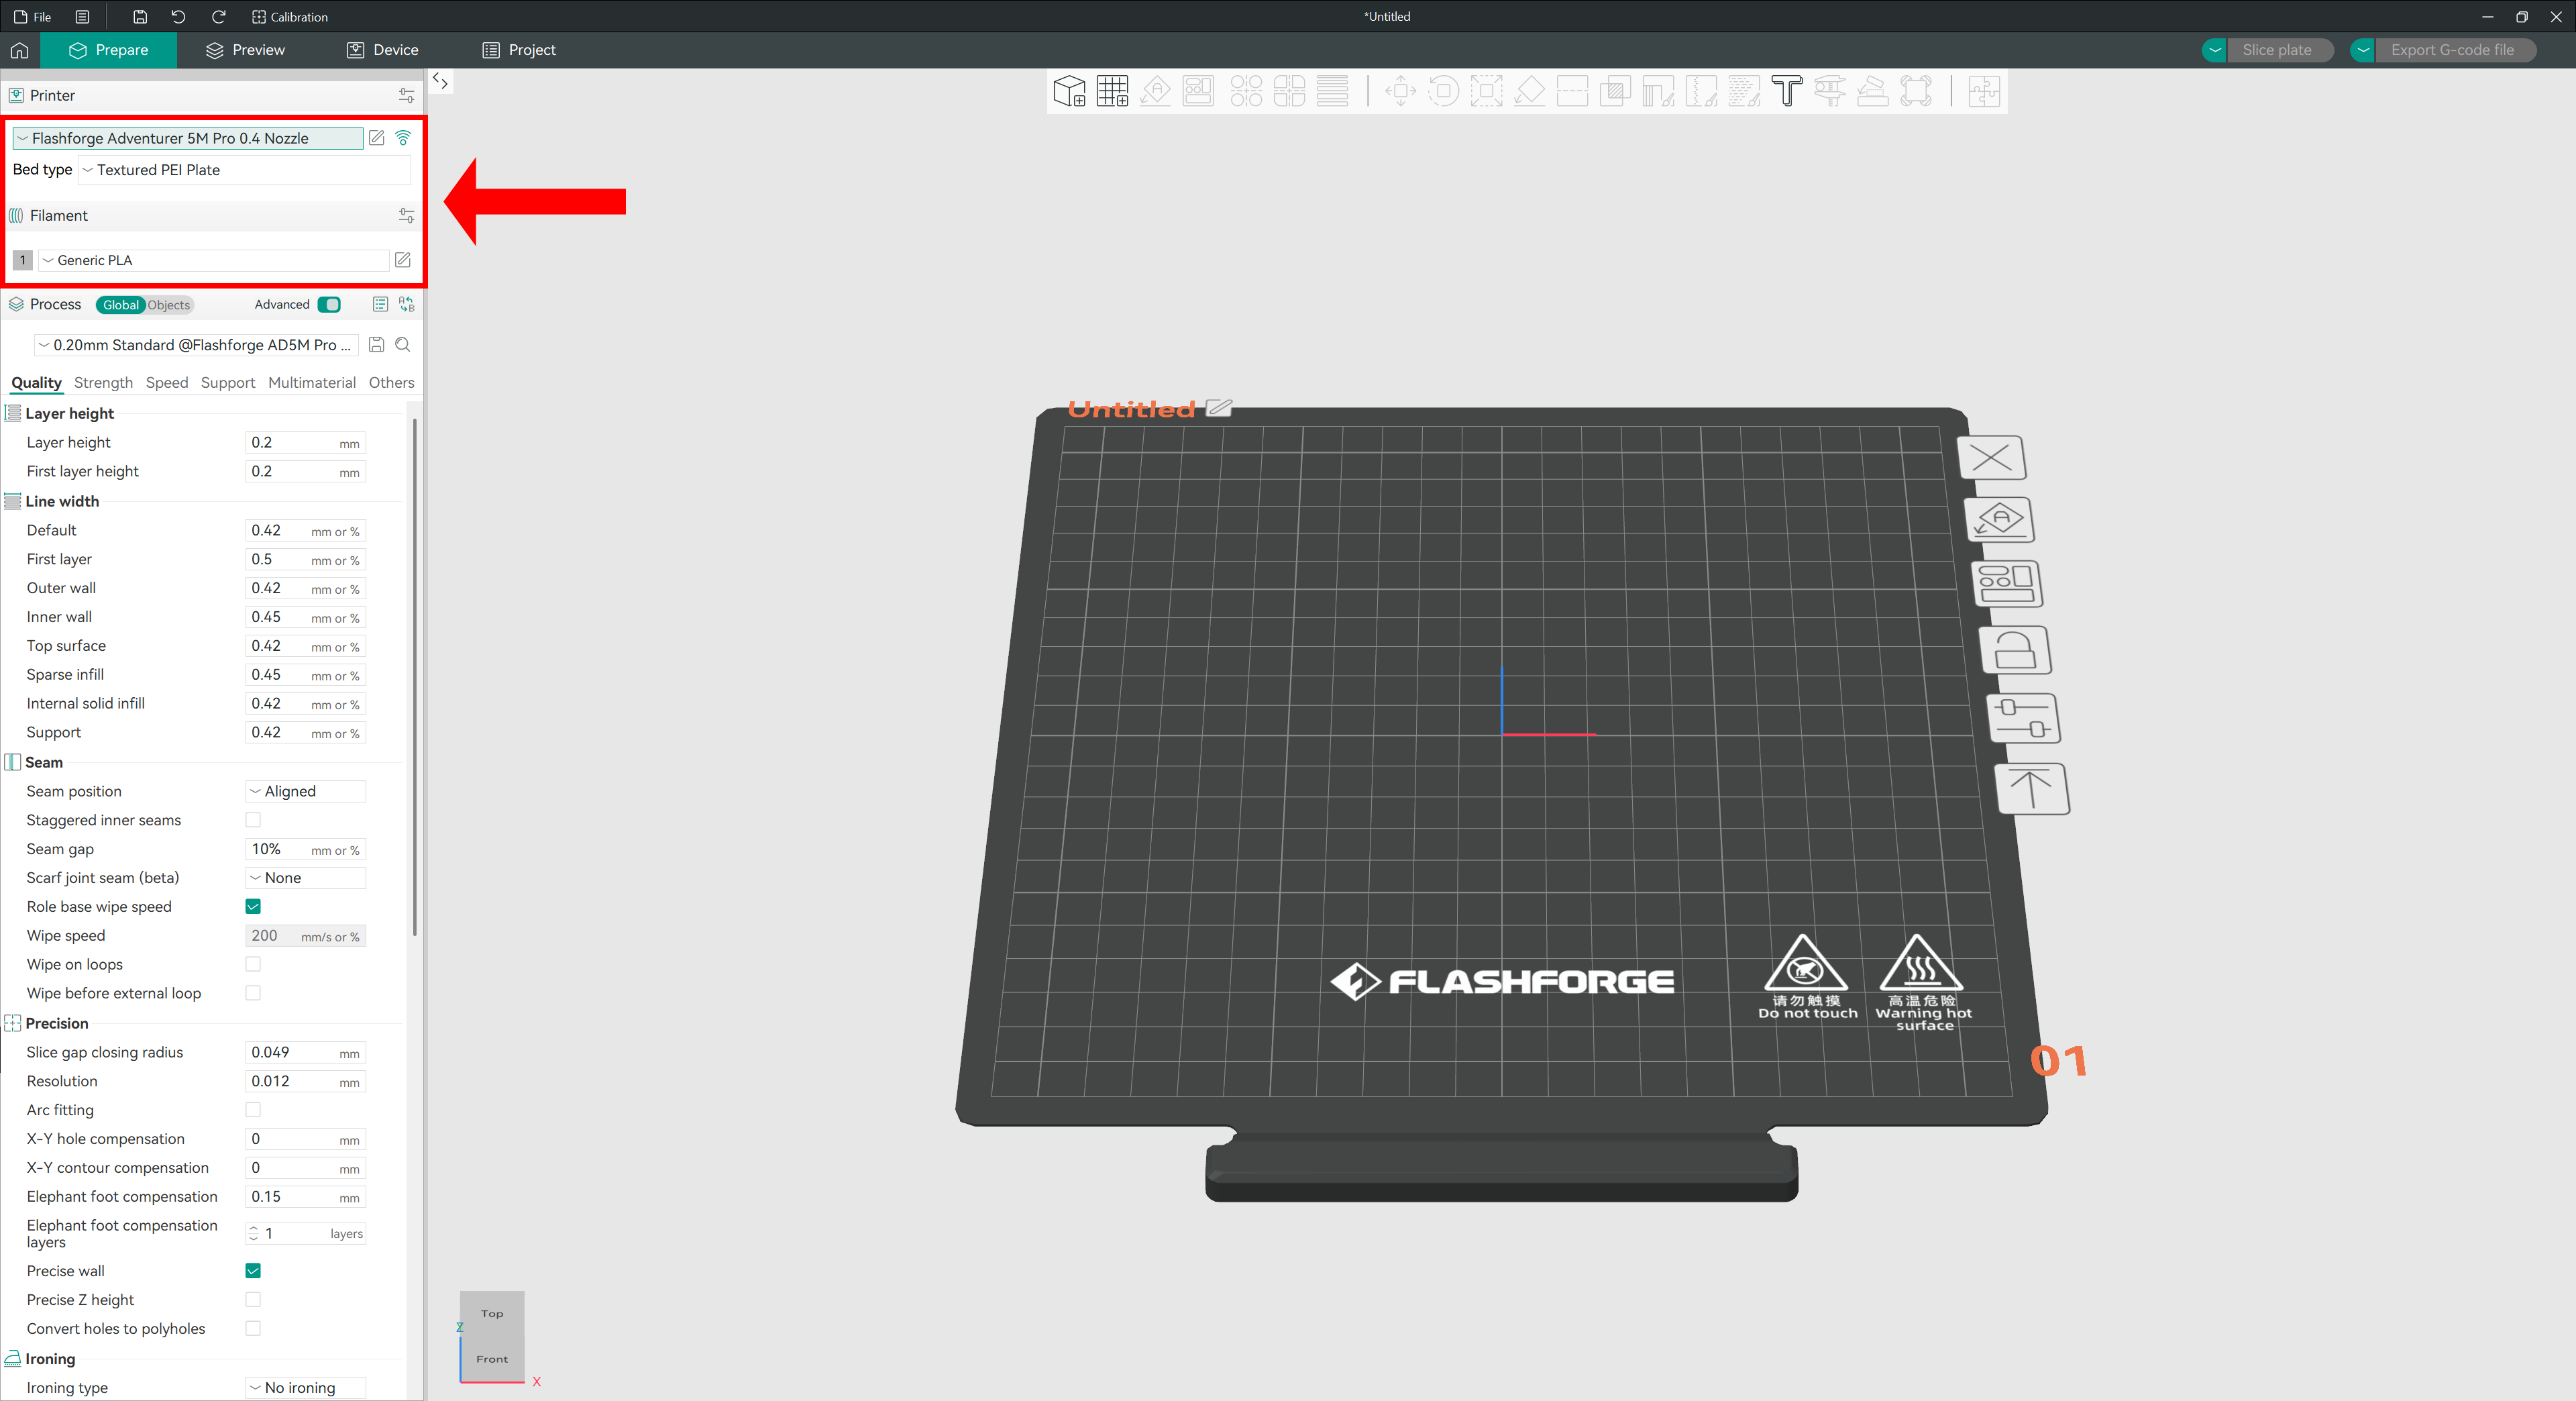
The main OrcaSlicer workspace will look similar to the image below, with the dropdown menus to change printers and filament outlined